
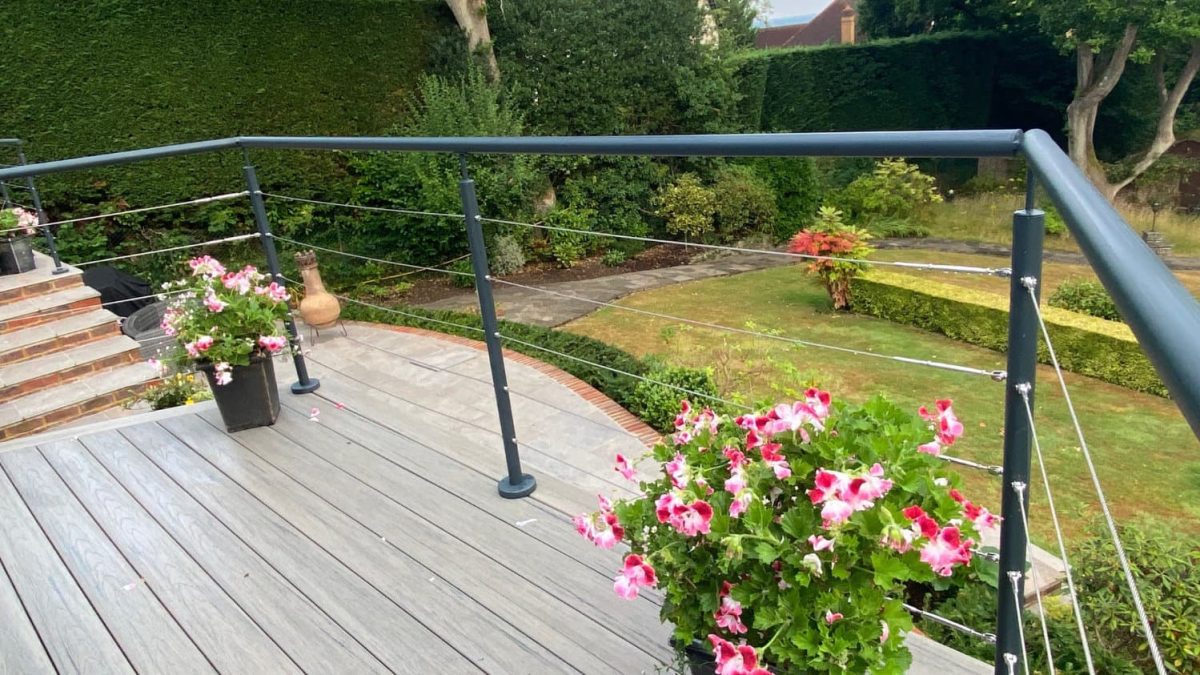

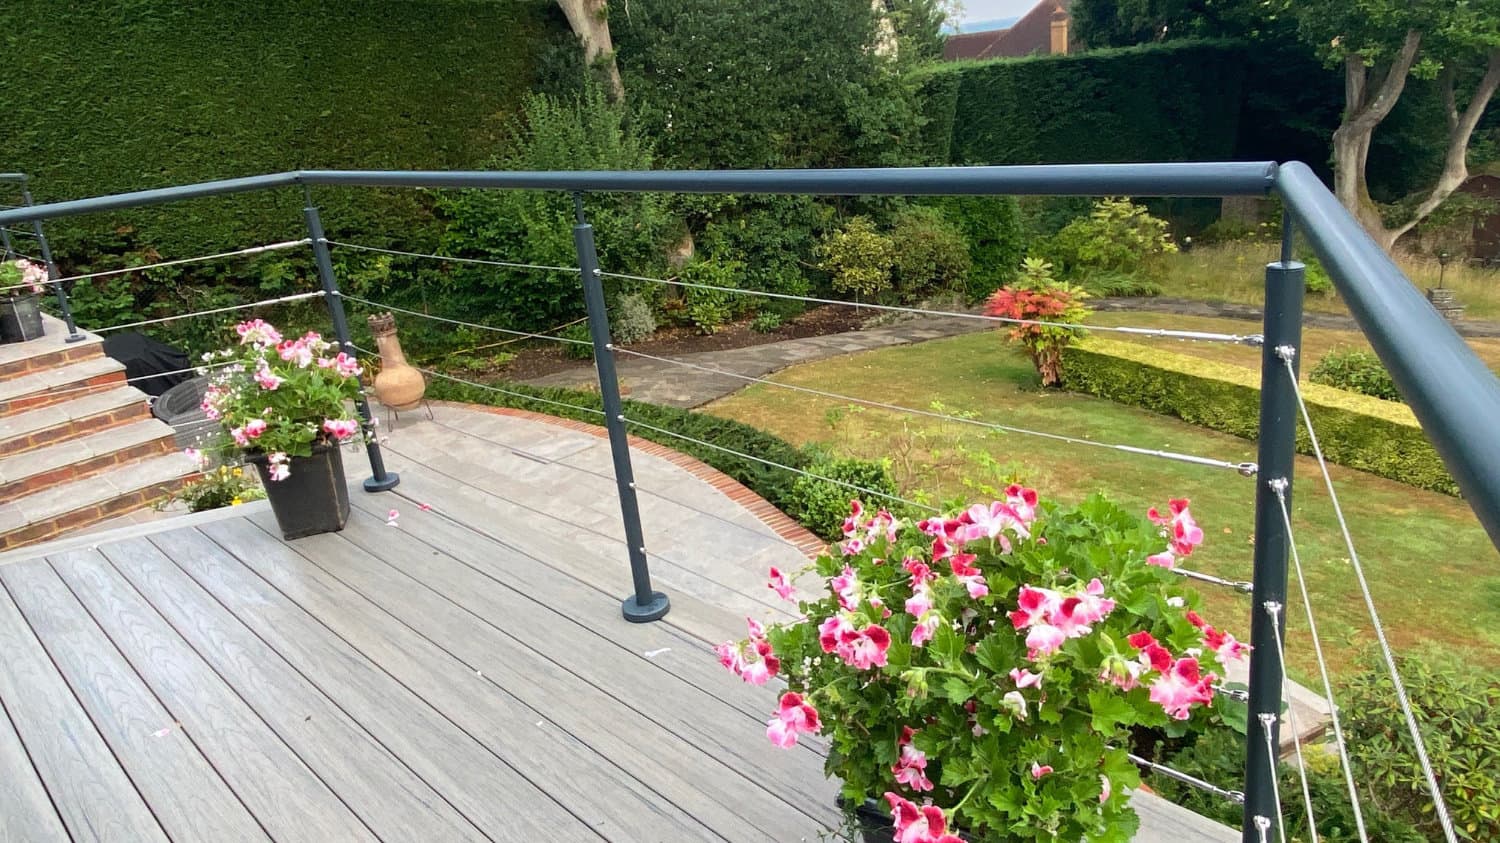
Wire balustrades have become the go-to choice for homeowners and renovators who want a contemporary look without the visual heaviness of timber balusters. They’re minimalist, they let light through, and they cost less than you’d expect. But there’s often confusion about whether DIY wire balustrades are actually a DIY option or something you need to hand off to a specialist.
The honest answer: it depends on the system. Some wire balustrade solutions are genuinely owner-builder friendly. Others require precision fabrication or welding that pushes into professional territory. This guide walks you through what’s realistic to tackle yourself and when to call in help.
Why Wire Balustrades Have Gained Popularity
Five years ago, wire balustrades were niche—mostly seen in contemporary builds by architects willing to specify custom fabrication. Today, they’re mainstream, and the reason is simple: they deliver modern aesthetics at a cost that’s competitive with traditional timber balusters.
A wire balustrade system typically costs 20–40% less than a premium hardwood balustrade, partly because material costs are lower (steel cable costs less than premium timber), and partly because fabrication is more standardised. Unlike a hand-built timber balustrade, wire systems often use modular components that reduce labour.
Aesthetically, they punch well above their price point. Wire creates visual transparency—your sightline continues through to the room beyond, making spaces feel larger and lighter. This is especially valuable in contemporary homes with double-height spaces or open-plan layouts where a solid balustrade would feel oppressive.
Safety-wise, wire meets code. The cables must be spaced so that a 100mm sphere can’t pass between them (preventing children getting stuck), and the system must withstand horizontal loads. Well-designed wire systems handle this without issue.
Two Types of Wire Systems: Know the Difference
Modular tension-wire systems use horizontal stainless steel cables threaded through vertical posts. The cables are tensioned (tightened) to create rigidity. These systems come as kits—you install the posts, thread the cables, and tension them. This approach is genuinely DIY-friendly if you’re willing to follow instructions precisely.
Custom-fabricated steel frames use welded steel structures with cables integrated into the design. These require welding expertise and precision fabrication. Unless you have metal fabrication skills, these need a professional stairs installer or specialist balustrade fabricator.
The distinction matters enormously. A modular tension system is accessible to a confident DIYer. A custom-welded frame is not.
Assessing Your DIY Readiness
Before committing to a DIY wire balustrade, honestly assess your capabilities.
You’re ready if you:
- Have experience with power tools and basic assembly
- Are willing to measure twice and tension cables carefully (precision matters)
- Can follow technical instructions and aren’t intimidated by metal fasteners
- Have access to the right tools (cable tensioners, measuring tape, drill)
- Have time—tension-wire installation isn’t complicated, but it requires patience
You should bring in help if you:
- Have never worked with cables or metal fasteners
- Are uncomfortable working at height or managing tension systems
- Don’t have the right tools (cable tensioners can be hired, but it adds cost)
- Are working with a custom-designed system rather than a standard kit
The reality is that many homeowners successfully install modular tension-wire systems themselves, but roughly 30–40% bring in a professional for final tensioning and compliance verification. This hybrid approach—DIY assembly plus professional finishing—is legitimate and often worth the cost.
Materials: What You’re Actually Installing
Modular wire balustrade systems typically come with:
- Vertical posts (usually aluminium or steel, powder-coated)
- Horizontal cables (stainless steel, usually 1.6–2.5mm diameter)
- Cable end fittings (various designs, usually stainless steel)
- Tensioning hardware (turnbuckles or similar devices)
- Mounting brackets (attach posts to the staircase string or handrail)
The quality difference between budget and premium systems is primarily in the fittings and cable quality. Budget systems use cheaper stainless or mild steel. Premium systems use marine-grade stainless and precision fittings. For a coastal or high-moisture environment, premium is worth the extra cost.
When sourcing materials, confirm:
- Cable diameter and tensile strength (should be rated for the load your staircase requires)
- Fitting quality and corrosion resistance
- Post spacing and cable spacing comply with AS/NZS 1657 (100mm sphere test)
- All components are stainless steel if the home is coastal
Installation: The Practical Reality
A standard tension-wire balustrade installation follows this sequence:
- Prepare the posts. Install vertical posts at the correct spacing (typically 1.2–1.5m apart). Posts must be secure—they’re what the cables tension against. Loose posts mean the entire system fails.
- Install cable end fittings. Attach the end fittings (where cables terminate) to each post. These need to be perfectly aligned so cables run straight.
- Thread and loosely attach cables. Run each cable through the fittings and loosely secure them. Don’t tension yet.
- Tension systematically. Using a cable tensioner, gradually tighten each cable. This is where precision matters. Under-tensioned cables sag. Over-tensioned cables can damage fittings or pull the posts. The goal is just enough tension to eliminate sag without excessive force.
- Verify safety. Once tensioned, test the balustrade. Push horizontally along the cables. It should feel solid, not flex excessively. If it flexes more than 20–30mm, you need more tension or your post spacing is too wide.
- Lock everything down. Once the tension is right, permanently secure all fittings so the system can’t loosen over time.
This process is straightforward but unforgiving. Get tensioning wrong and your balustrade either sags or the posts get damaged. This is why many DIYers successfully handle assembly but bring in a professional for the tensioning and compliance verification step.
When to Call in a Custom Balustrades Specialist
Professional help makes sense in a few scenarios:
You’re not confident about tensioning. Bringing in a professional just for this step (roughly 2–3 hours) typically costs $400–$800. For peace of mind and safety assurance, it’s worth it.
You need custom integration. If your wire balustrade needs to work with custom handrails, integrate with glass panels, or connect to non-standard posts, a fabricator brings valuable problem-solving.
You want compliance certification. Some councils require a professional to sign off on balustrade installation. Knowing who will verify your work before you start building saves rework.
The system is custom-designed. If you’re not working from a standard kit, custom fabrication is almost certainly beyond DIY scope.
The Cost-Benefit Reality
For a standard 12-step staircase with a modular tension-wire system:
- Materials: $1,200–$2,000
- Professional installation: $1,500–$2,500
- DIY assembly + professional tensioning: $1,200–$2,000 + $400–$800 labour
- Full DIY: $1,200–$2,000 (if you get it right)
The cost difference between full DIY and professional installation is real, but it’s not astronomical. If you’re uncertain, the hybrid approach—doing the assembly yourself and bringing in help for tensioning—is often the smartest choice. You save money, reduce risk, and get professional sign-off on the final safety.
The Modern Aesthetic Worth Having
DIY wire balustrades represent a genuine opportunity to add contemporary design impact without premium pricing. They work in renovations, new builds, and especially in homes where visual openness matters.
Whether you tackle the entire project yourself or bring in professional help for the final stages, the result—a modern, safe, visually light balustrade—is worth the attention you invest. It’s one of those elements that catches people’s eyes and makes your staircase feel thoughtfully designed rather than merely functional.
